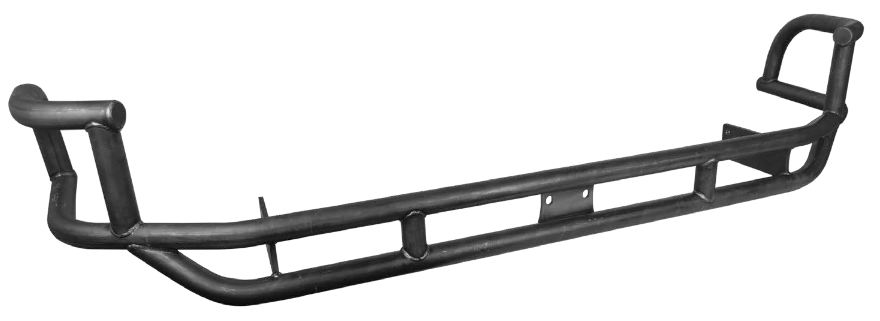
Rock Defense Rear Bumper
HREW bumpers are strong, but Trail-Gear had to take things to the next level by making our bumpers out of 1020 DOM (1.75" X .120" wall) with a .25" CNC formed steel plate winch mount. 1020 DOM is more dent resistant than HREW tubing and it will not split down the seam as we have all seen the cheaper HREW tubing do. We can confidently say that our Rock Defense bumpers are one of the strongest on the market. Mounting holes on the winch plate are drilled for most 5000-9500 model low-profile winches and smaller sized 9.0R Warn competition winches. For larger winches some minor trimming of the grill may be required. Bumper also features a shackle receiver mount that will make a great anchor point for winch or strap recoveries.
NOTE: Shipping on FJ front bumper is $150.00 (Continental U.S. only). Unpainted steel finish. Not intended for use with a body lift. Bumper not rated for towing.
| Note: Images are for illustration purposes only. Images may not represent the product listed. Please contact customer service with any questions or concerns: 1-928-505-2501. |
by Trail-Gear
- 1991-1997 Lexus LX450
- 1991-1997 Land Cruiser FJ80
Tools Needed:
- Socket Set
- Punch/li>
- Hammer/li>
- Ratchet or impact wrench/li>
- Steel File/li>
Installation Notes:
-
1. Read all instructions completely and carefully before you begin.
2. Check to make sure the kit is complete and that no parts are missing. If anything is missing, please contact Trail-Gear at (559) 252-4950.
3. Park vehicle on a clean, dry, flat, level surface and block the tires so the vehicle can not roll in either direction.
4. This product is for off-road use only. It is recommended that the installation steps below be performed by a competent mechanic. Buyers and users of this product hereby expressly assume all risks associated with the installation and use of this product.
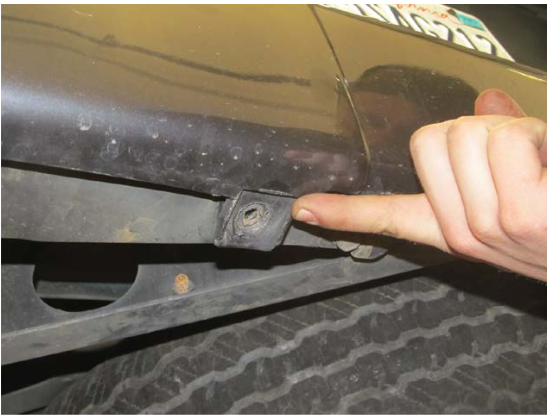
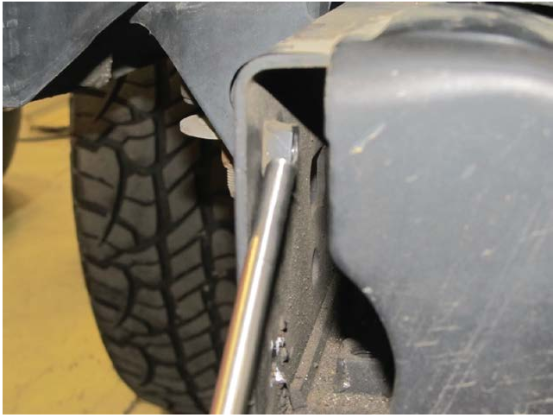
1. Remove mud flap bolts.
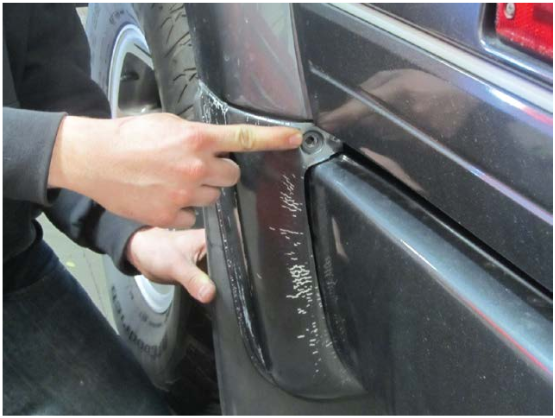
1. Continued.
2. Remove remaining bolts securing the bumper side trim.
2. Continued.
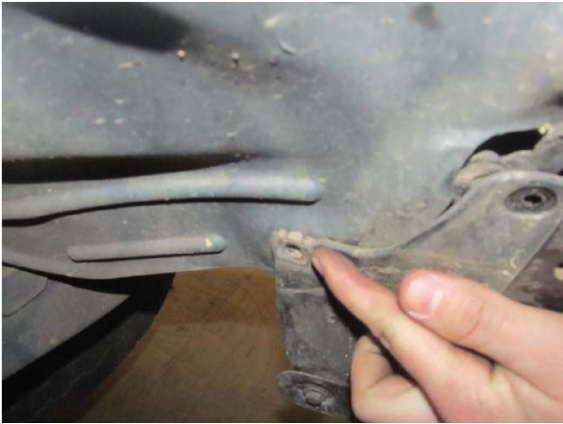
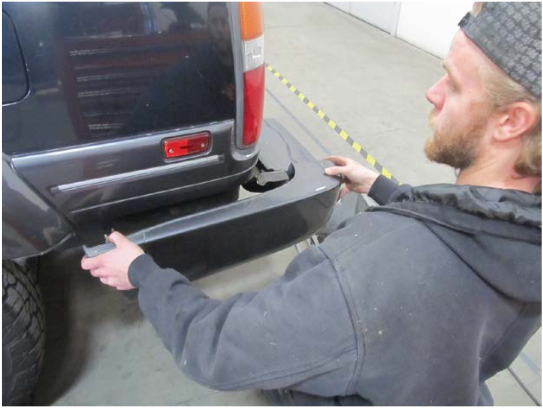
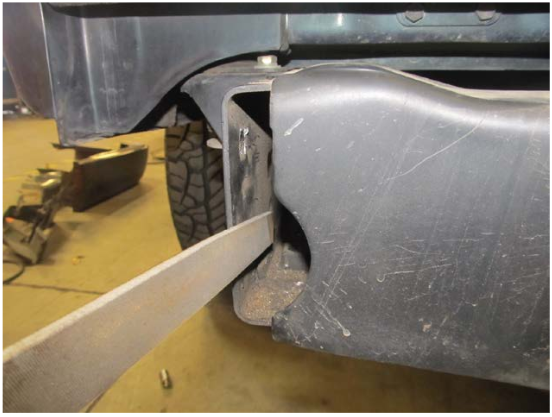
3. At this point the side trim should be removed. Repeat steps 1-3 for opposite side.
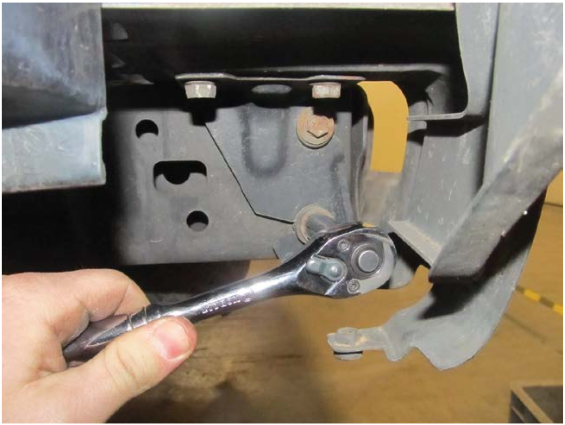
4. Unbolt and remove side trim support, this is where some models may differ.
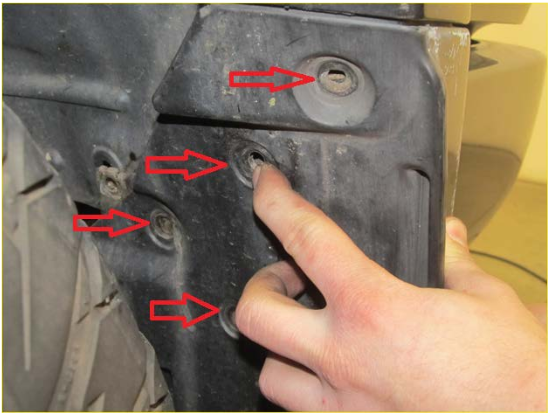
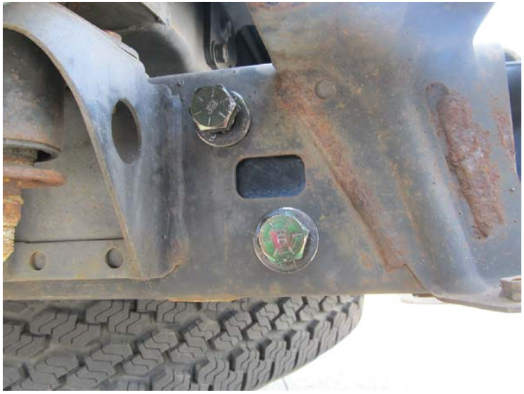
5. Depending on model the weld nuts shown may need to be removed. The tack welds are easily broken by striking the nut with a punch. If your vehicle does not have these weld nuts please skip to step 7.
6. It may be necessary to file the tack welds smooth.
7. Unbolt and remove center trim.

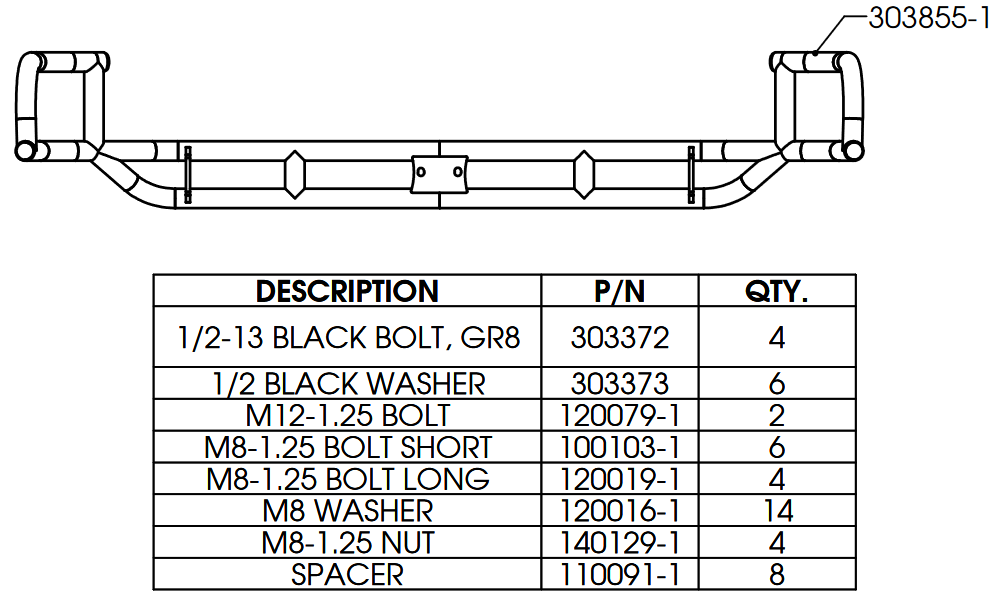
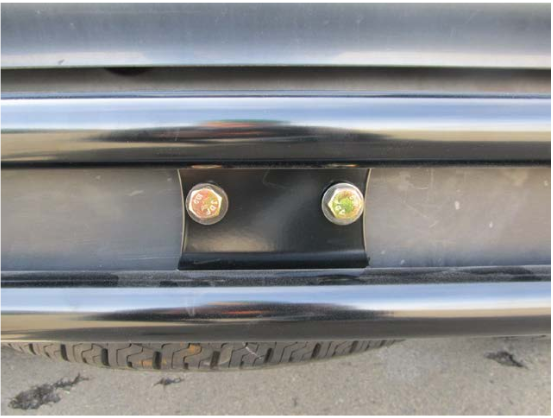
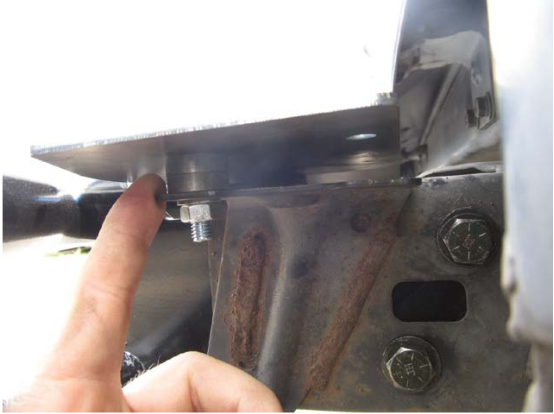
8. Slide bumper into frame. Use the supplied ½" hardware to secure the side mount plates.
9. Use the supplied M12 hardware to secure the center mount.
10. Install short M8 hardware into step plate.
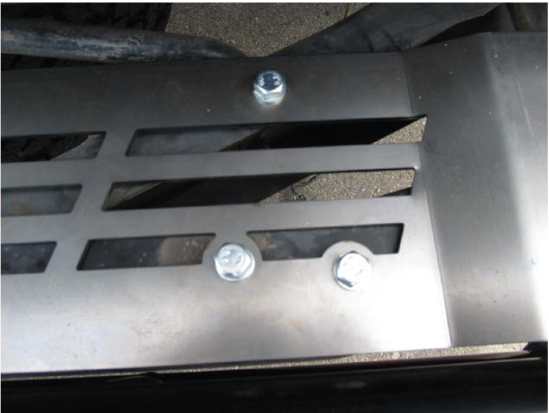
11. Install spacers under step plate and secure with supplied M8 hardware. (2 spacers per mounting location.) This mounting location is only present on certain models.
Replacement Parts: